Please note: Payments plans are available for client invoices only
To create a payment plan, you must first have the invoice created
Once you have the invoice created, you are then able to create the payment plan
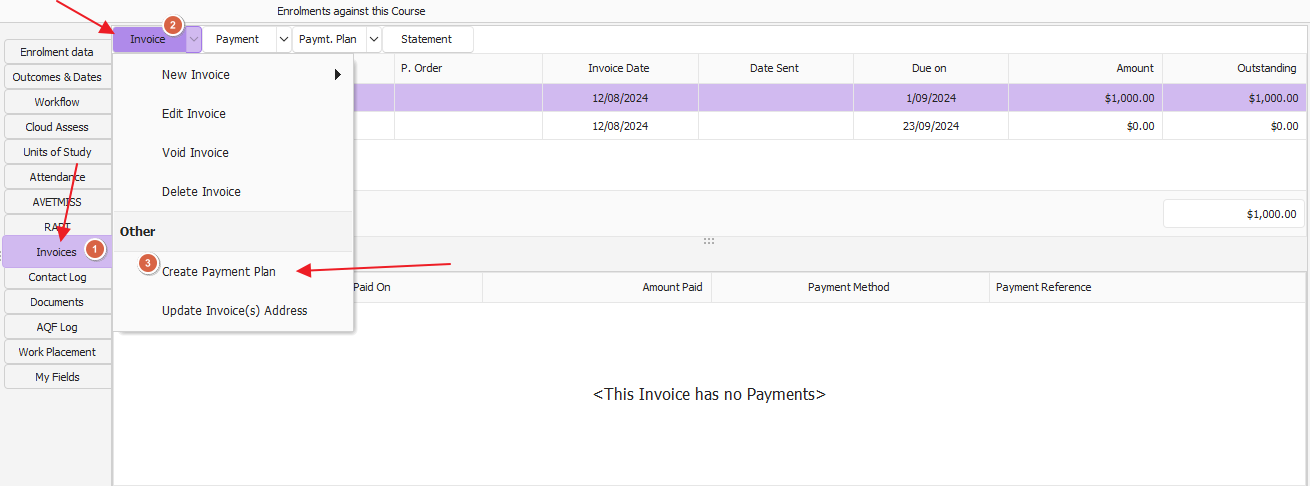
Next you need to create the plan using either a duration or instalment value
To set plan up by duration
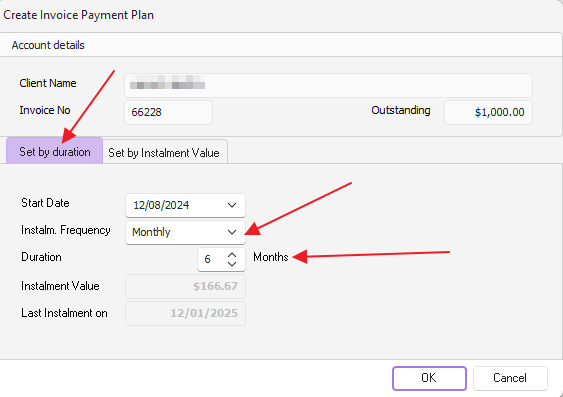
The start date defaults to the current date, change if required
Instalment Frequency (Weekly, Fortnightly, Monthly) select from drop down
Duration set (instalment number)
Instalment value is greyed out and will change with the selection based on the frequency & duration set
Last Instalment on - is calculated from the set selection
Now Click OK to complete
To set plan up by instalment value
The start date defaults to the current date, change if required
Instalment Frequency (Weekly, Fortnightly, Monthly) select from drop down
Instalment Value ($) needs to be entered
Duration ( instalment number) is greyed out and will change with the selection based on the frequency & Instalment Value set
Last Instalment on (greyed out) - is calculated from the set selection
Now Click OK
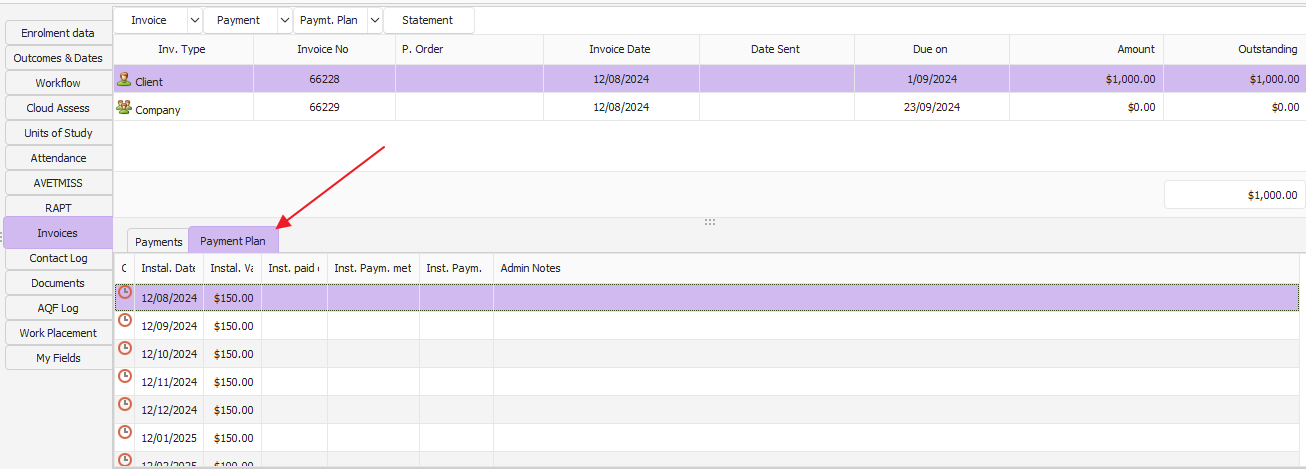
Once Payment Plan has created, it should look similar to the below.
How to apply payment to Plan
From the payment area, select from the drop down "New Payment"
Enter details required, and select by ticking the box/s on the "Payment Plan Instalment" field the instalment/s the payment relates too.

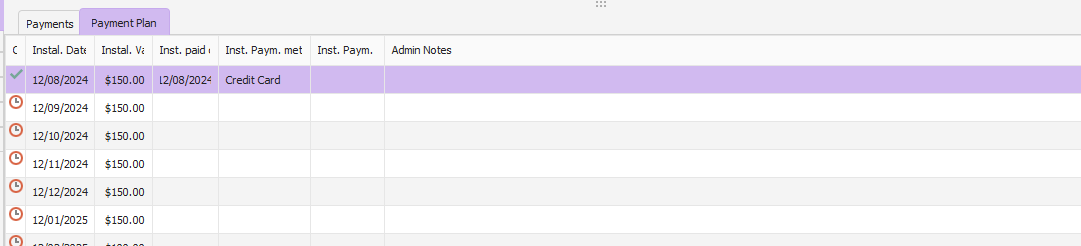
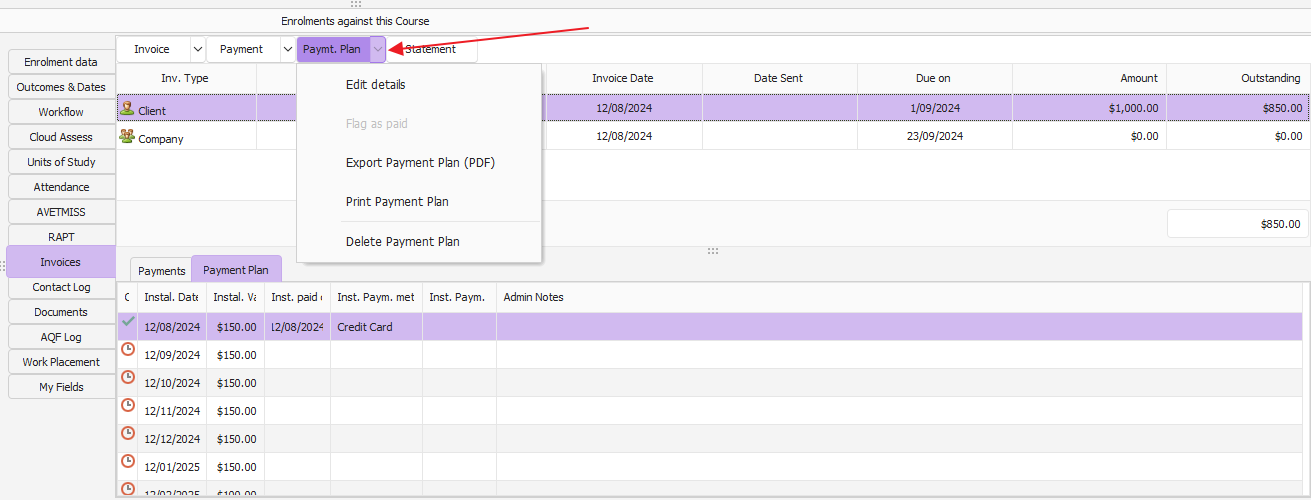
When the client has paid the instalment a green tick is indicated against the schedule as per image below:
To Edit, Export, Print or Delete a Payment Plan select from the Payment Plan drop down.
If you require the payment plan to be on a letterhead or with more detail, a mail merge using a template created can be used to achieve this.
This template is saved in the Letter Template Folder.